This article will explore the unique and creative Post List Widget—a premium widget designed to present your posts in “list” layout. Whether you’re looking to add a touch of creativity to your blog or portfolio, the Post List Element empowers you to break away from conventional designs and showcase your content visually compellingly.
Adding Post List to Your Page: #
Locate and Add Post List Element:
- Open your Elementor editor and navigate to the GW Elementor Addons elements.
- Add the Post List element to your page effortlessly.
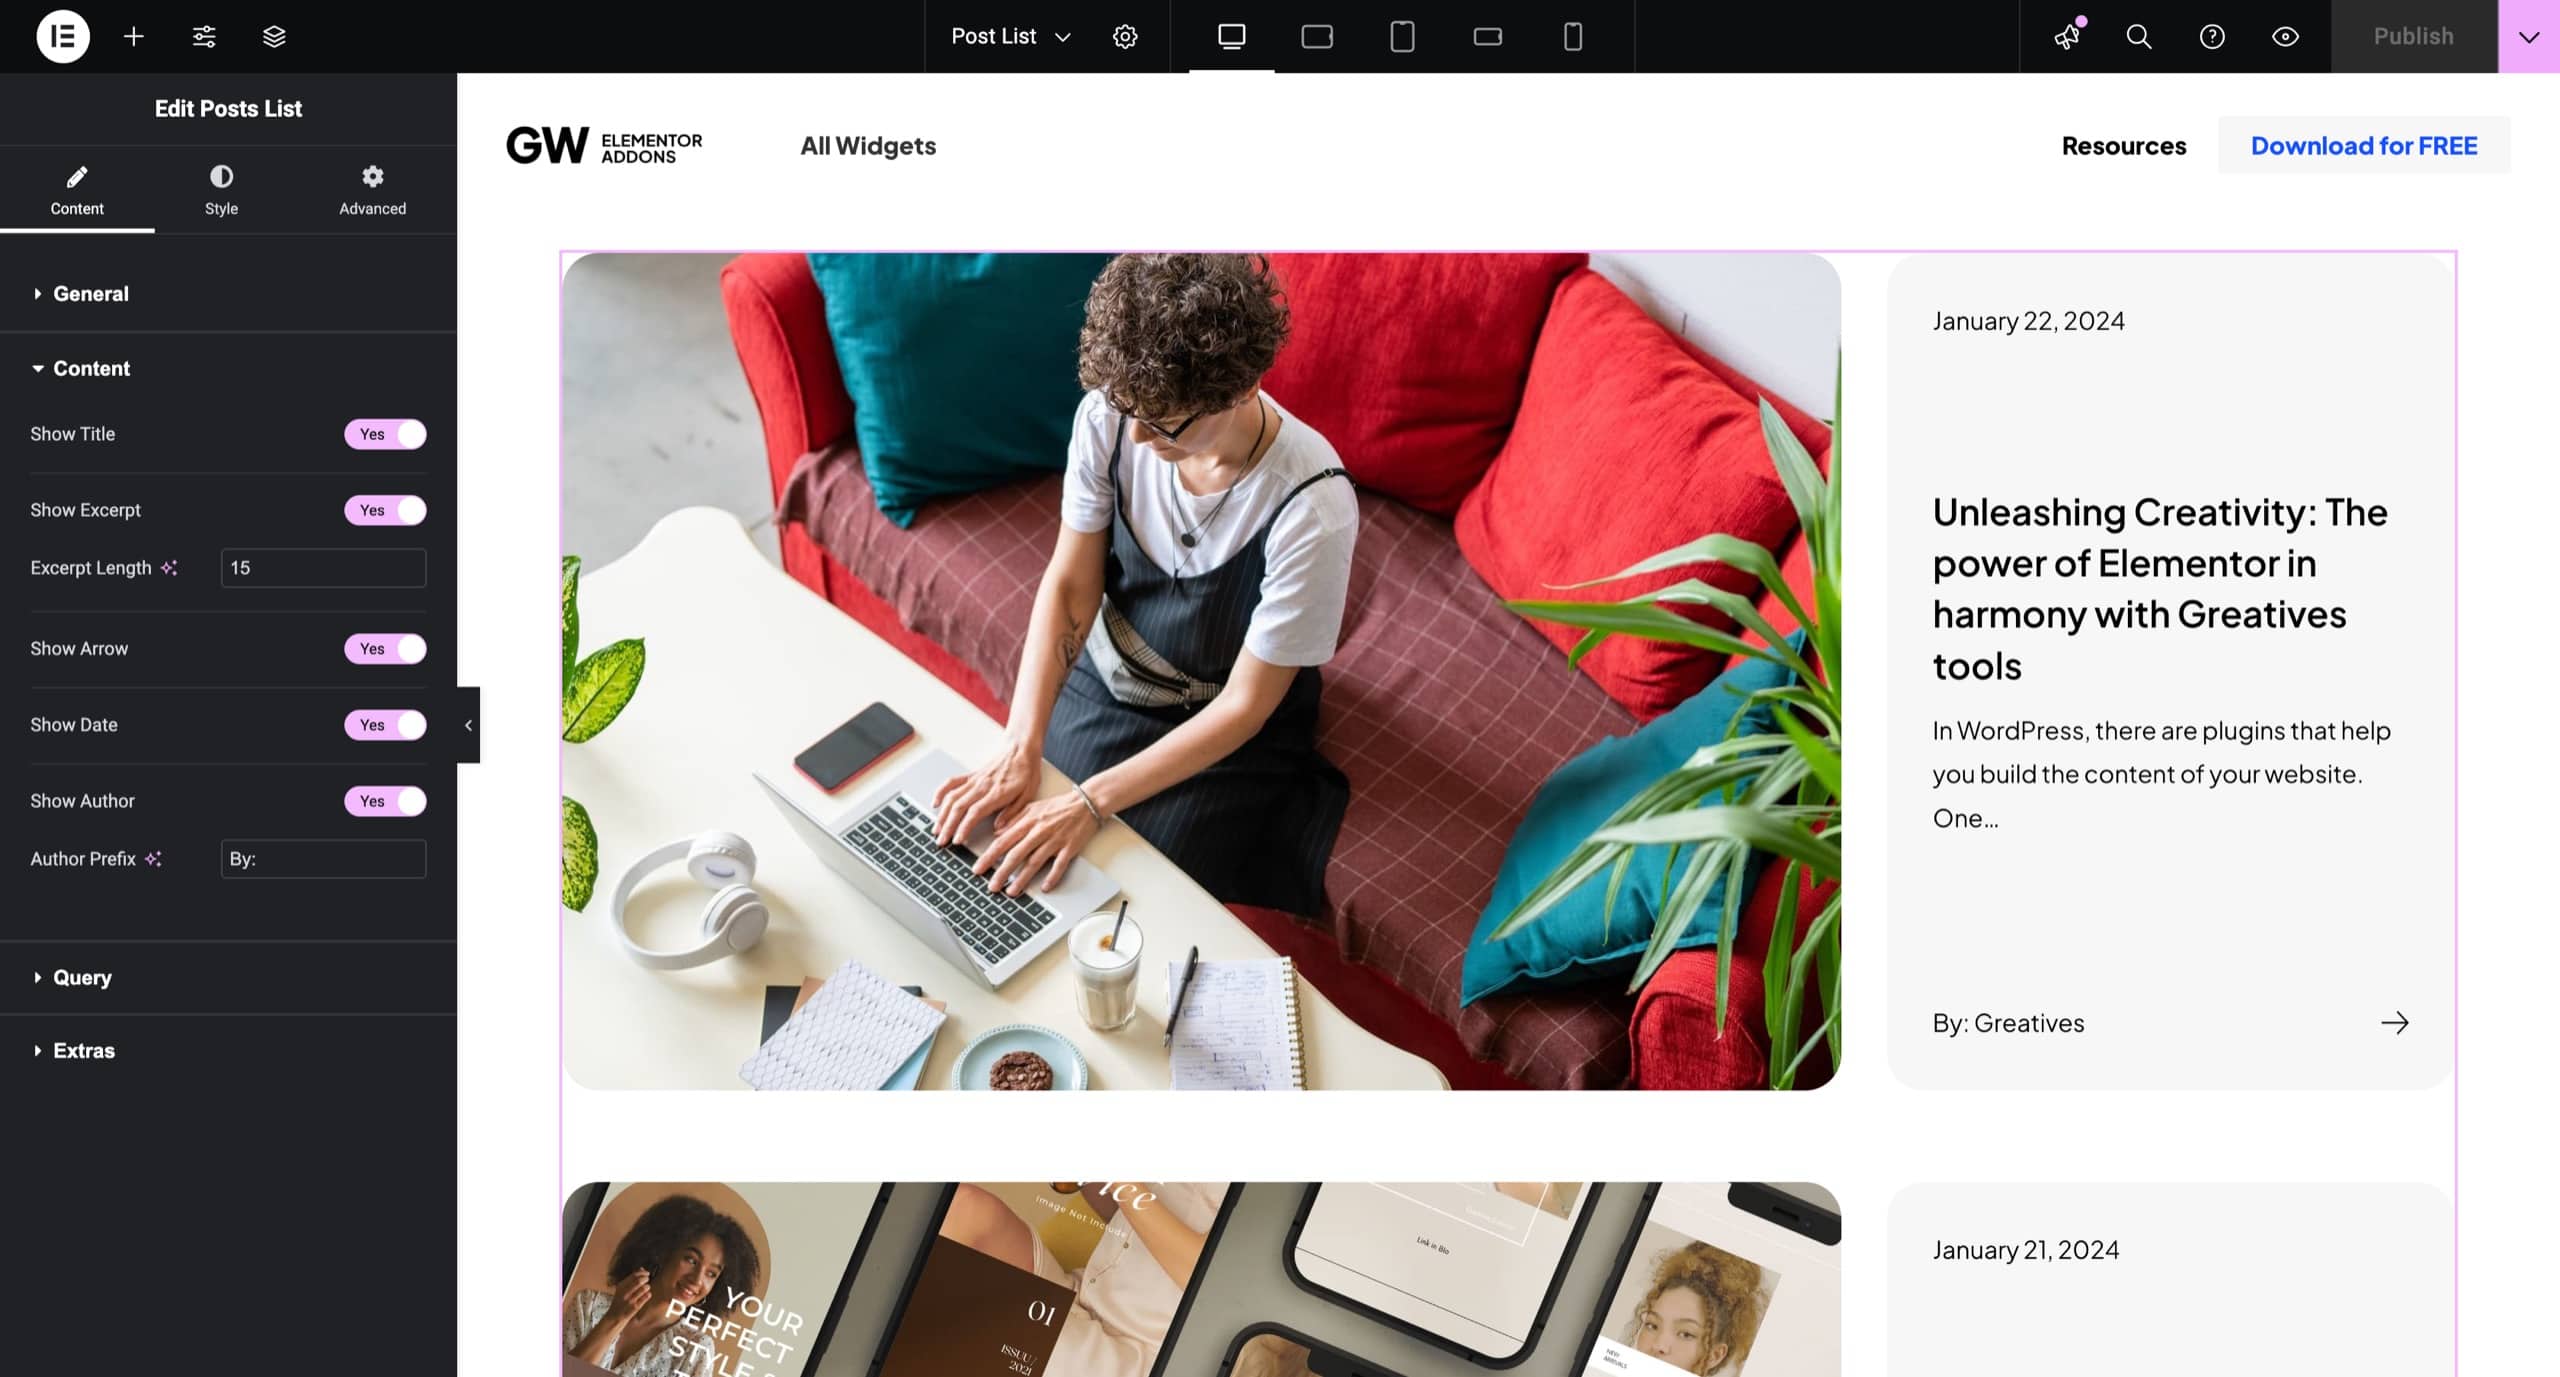
Crafting Your Creative Layout:
- In the Content tab, configure your Post List by selecting the desired post type (posts, pages, products, portfolio items, etc.).
- Choose from various options (title, arrow, date, etc) to add a creative touch to your post overview.
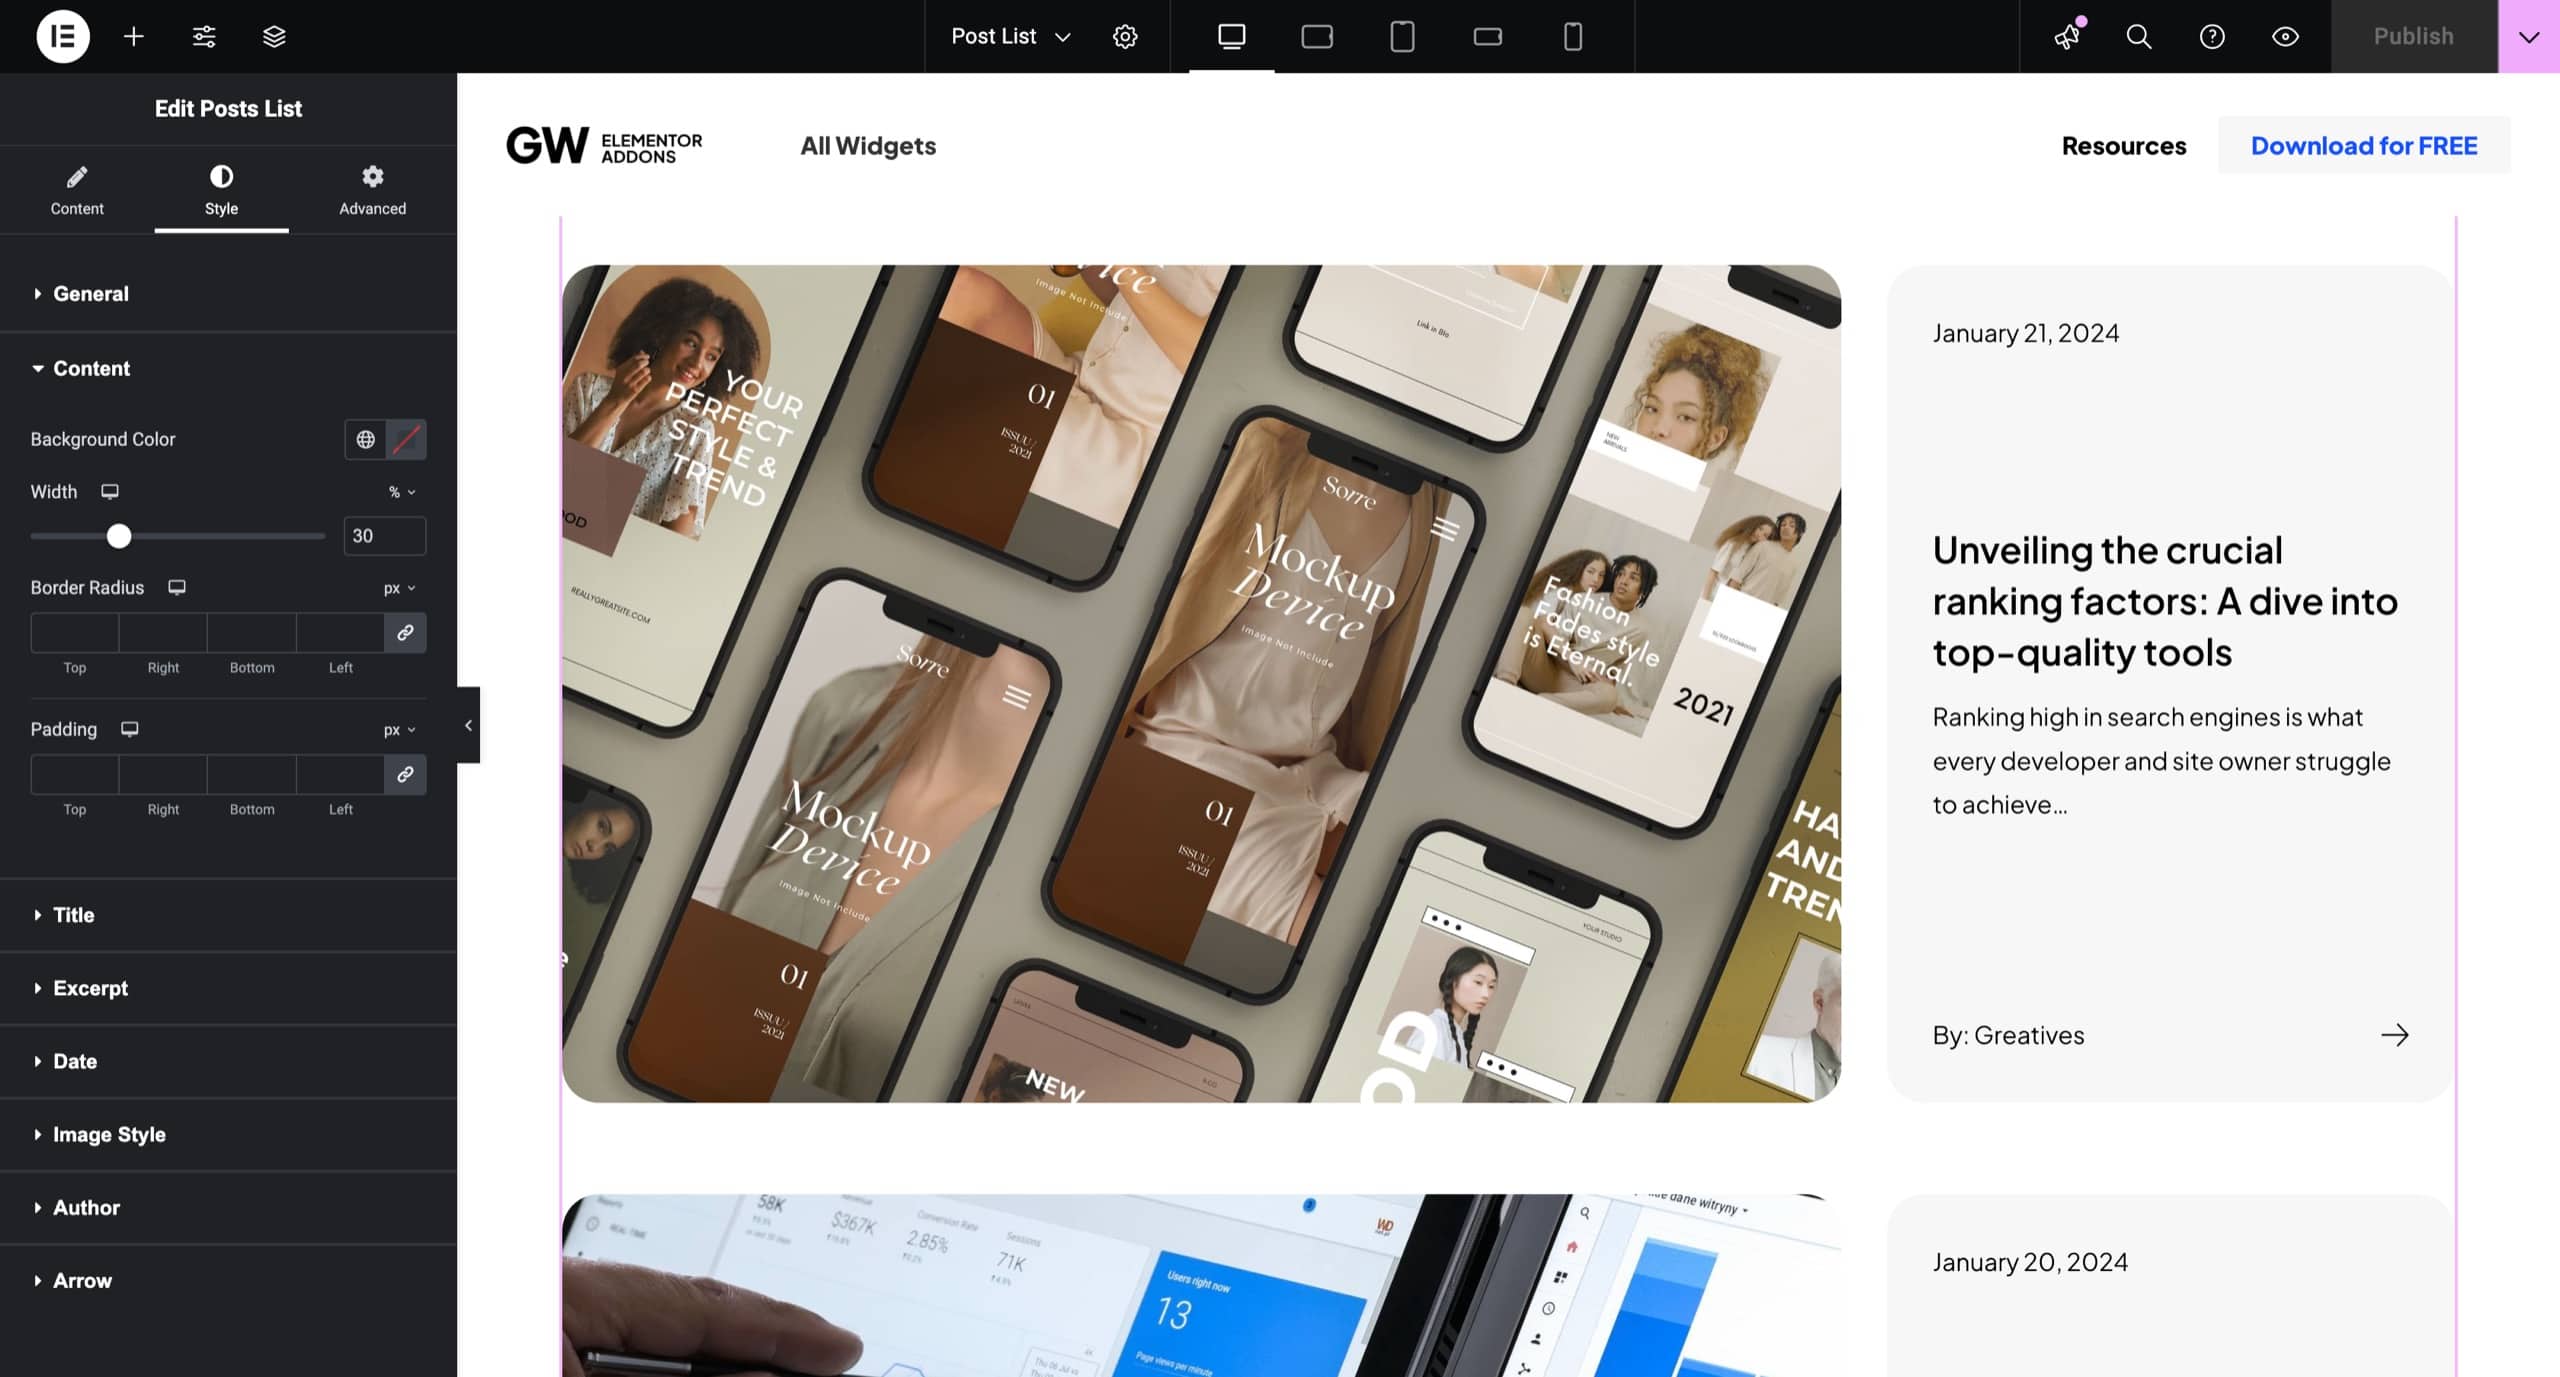
Styling Your Post List: #
Customizing Style Settings:
- Move to the Style tab to access a rich set of customization options.
- Define the Height, direction, image style, position and many more to tailor the appearance of your post list to suit your design preferences.
Going Beyond with Advanced Options: #
Exploring Advanced Settings:
- Dive into the Advanced tab to unlock advanced features for precise control over positioning, responsiveness, and additional styling details for your Posts Broken Element.
That’s it! You’ve successfully added a creative flair to your post presentation with the GW Elementor Addons Post List Element.


