In this article, we’re diving into the versatile and information-rich Data Table Element—a premium widget designed to present data with clarity and precision.
Adding Data Tables to Your Page: #
Locate and Add Data Table Element:
- Open your Elementor editor and navigate to the GW Elementor Addons elements.
- Add the Data Table element to your page effortlessly.
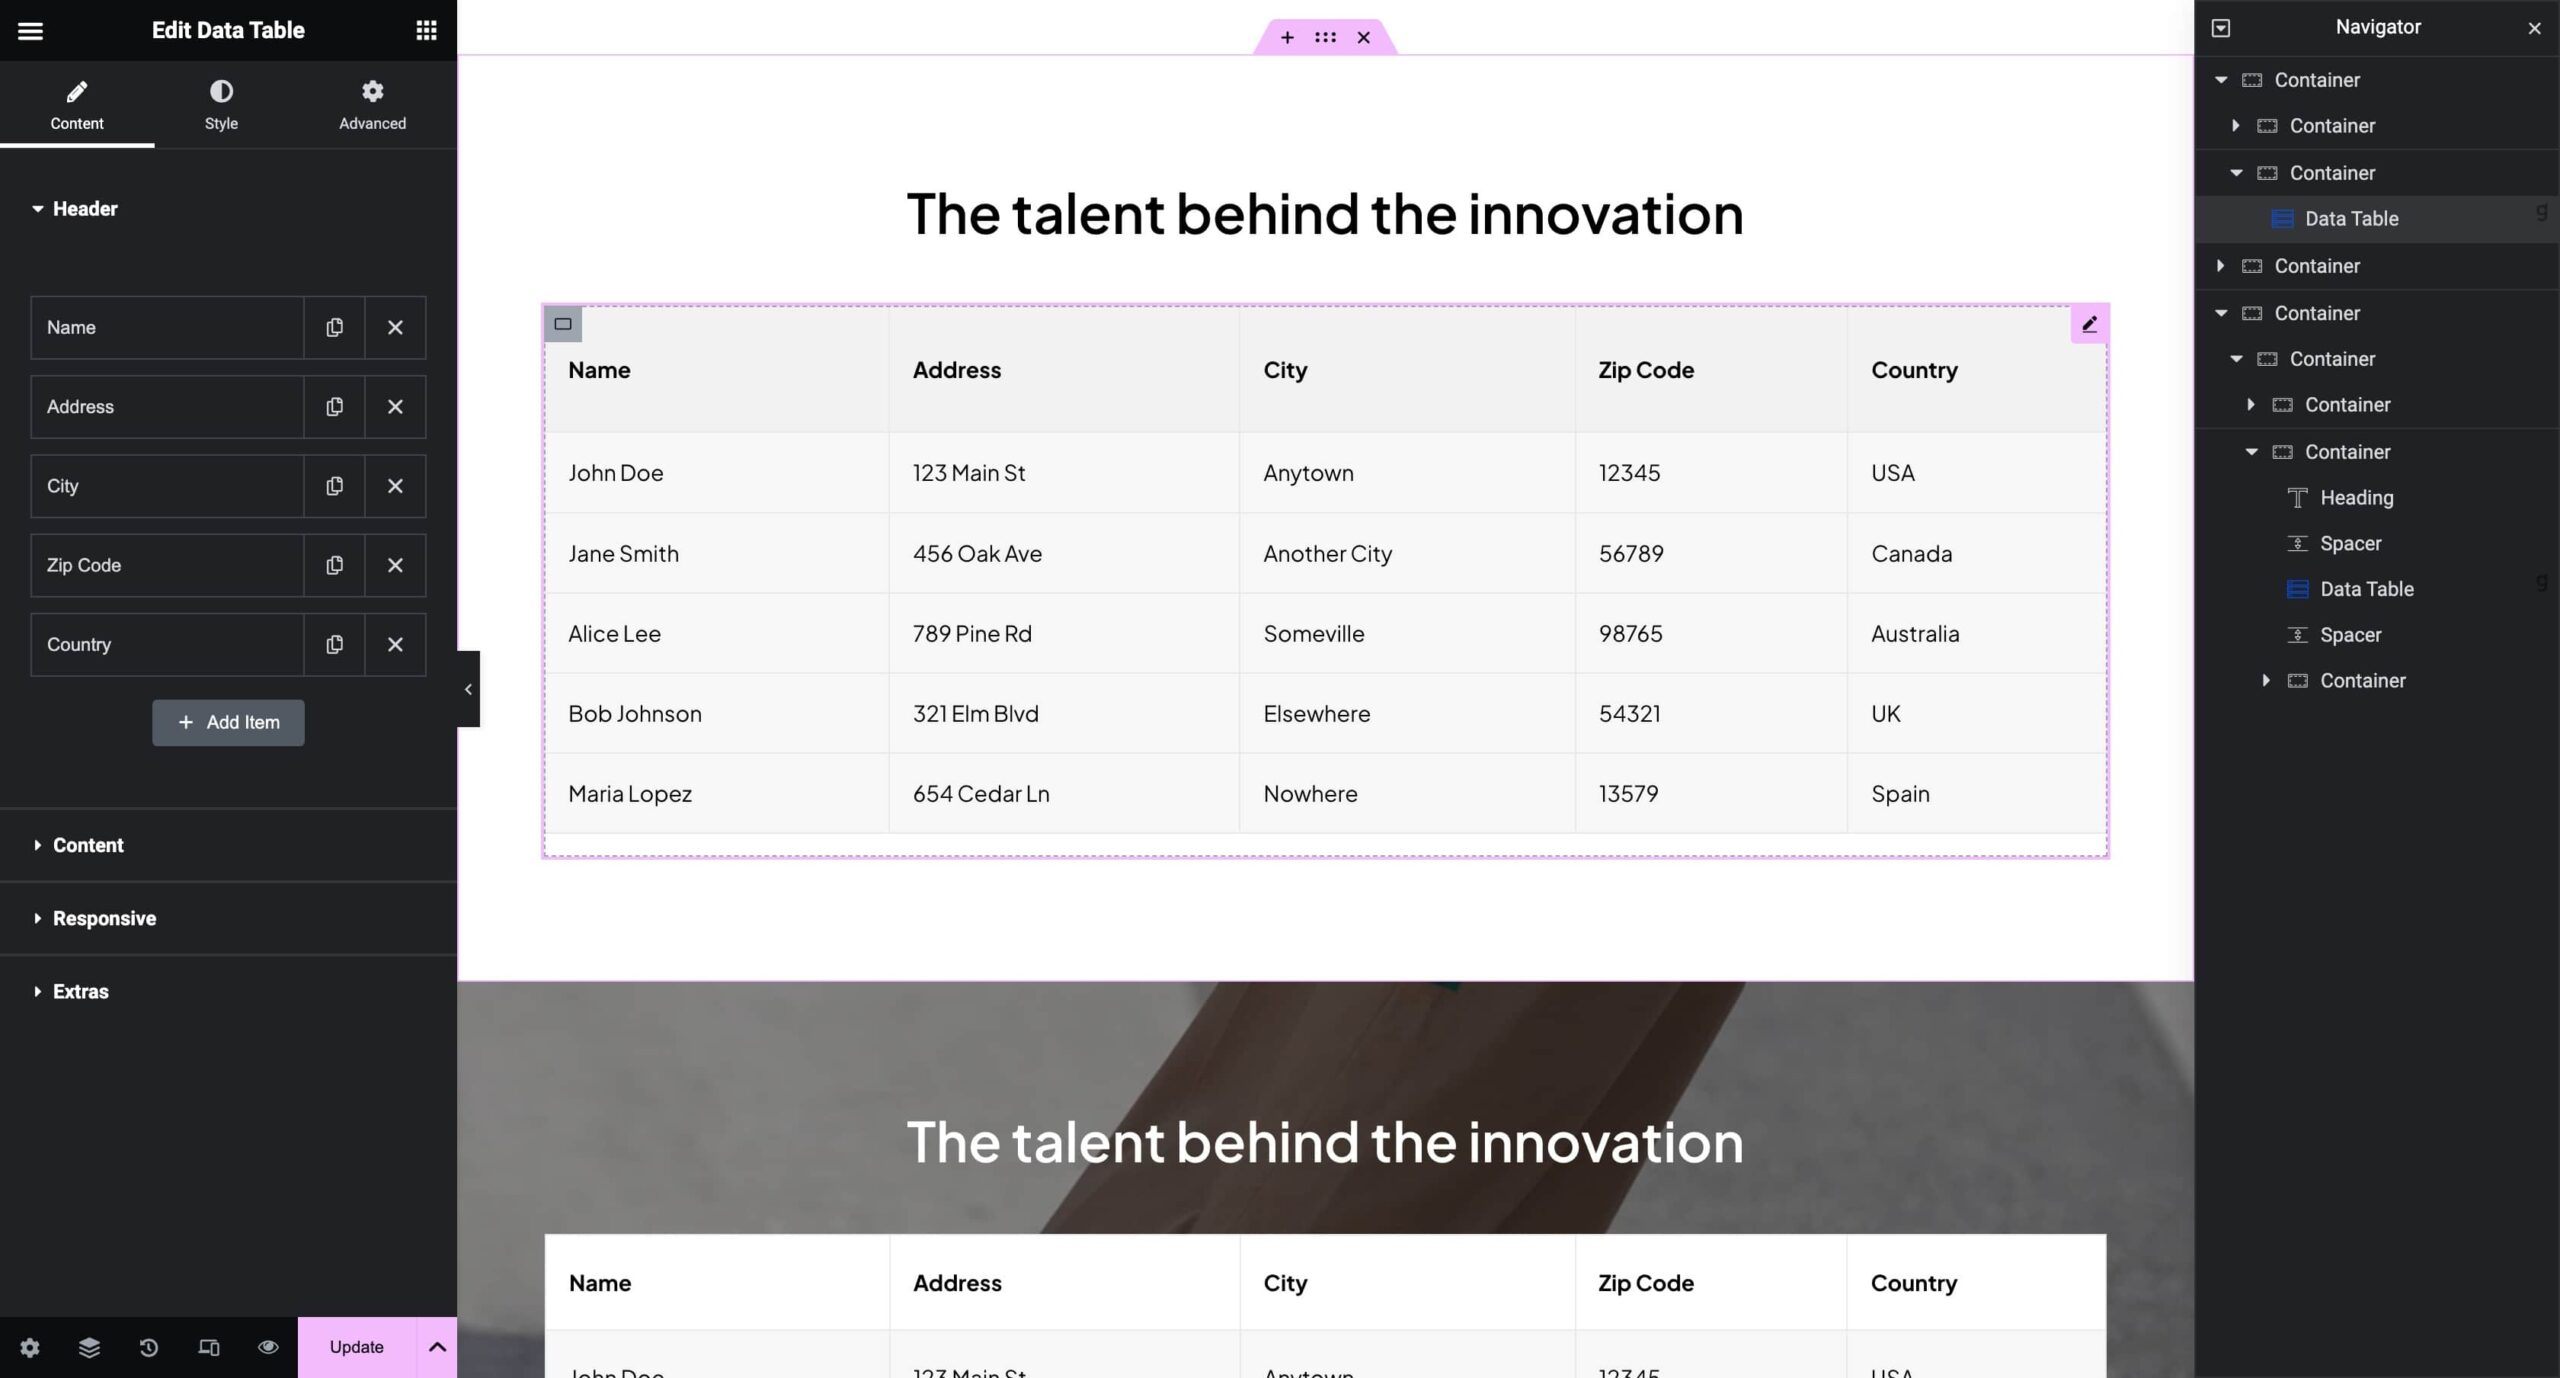
Crafting Your Information Presentation:
- Add the table header in the Content tab and utilize the repeater feature to add as many rows and columns as needed.
- Define the responsive behavior and explore the option to convert the table header to a right-side stacked column for enhanced horizontal scrolling.
Styling Your Data Tables: #
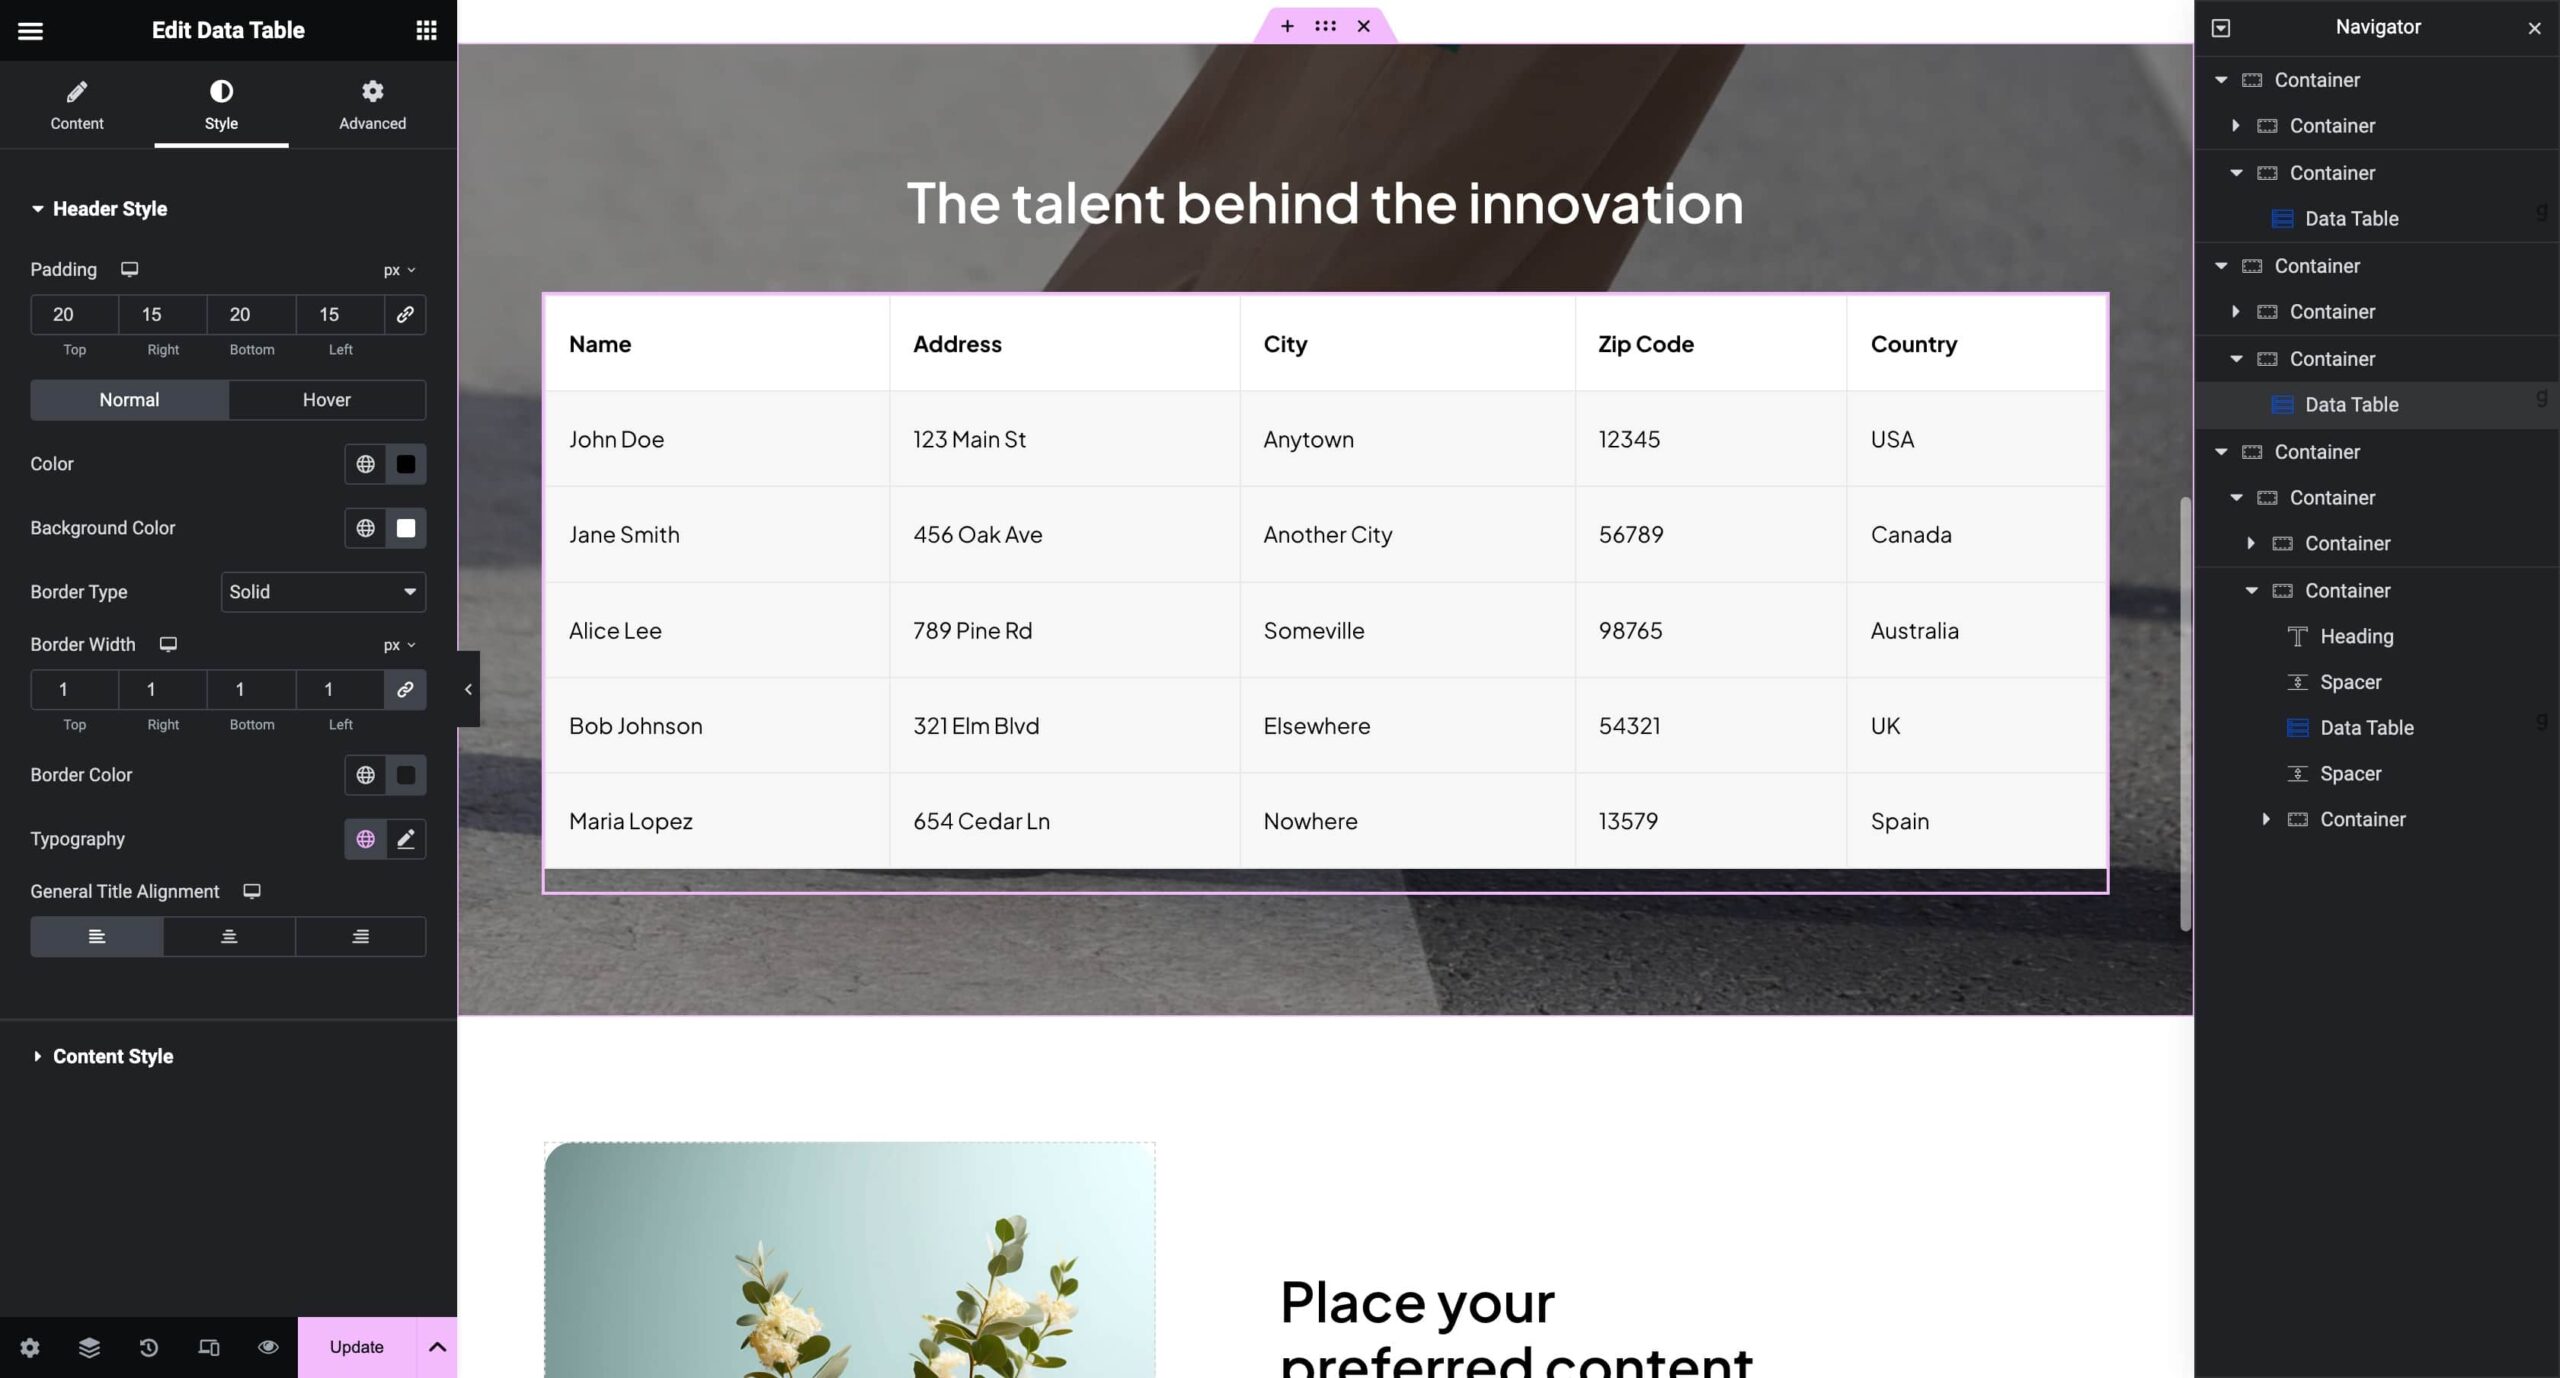
Customizing Style Settings:
- Move to the Style tab to access a rich set of customization options.
- Customize the table header and content separately with options for borders, colors, and more to ensure your Data Tables seamlessly integrate with your overall design.
Going Beyond with Advanced Options: #
Exploring Advanced Settings:
- Dive into the Advanced tab to unlock advanced features for precise control over positioning, responsiveness, and additional styling details for your Data Table Element.
Whether you’re showcasing statistics, pricing plans, or any other tabular data, this premium element provides the flexibility you need.


