In this article, we’ll explore the powerful and flexible Menu Element—a premium widget designed to enhance your website’s navigation. With the Menu Element, you can effortlessly integrate menus anywhere on your site, creating a seamless and user-friendly browsing experience.
Adding Custom Menus to Your Page #
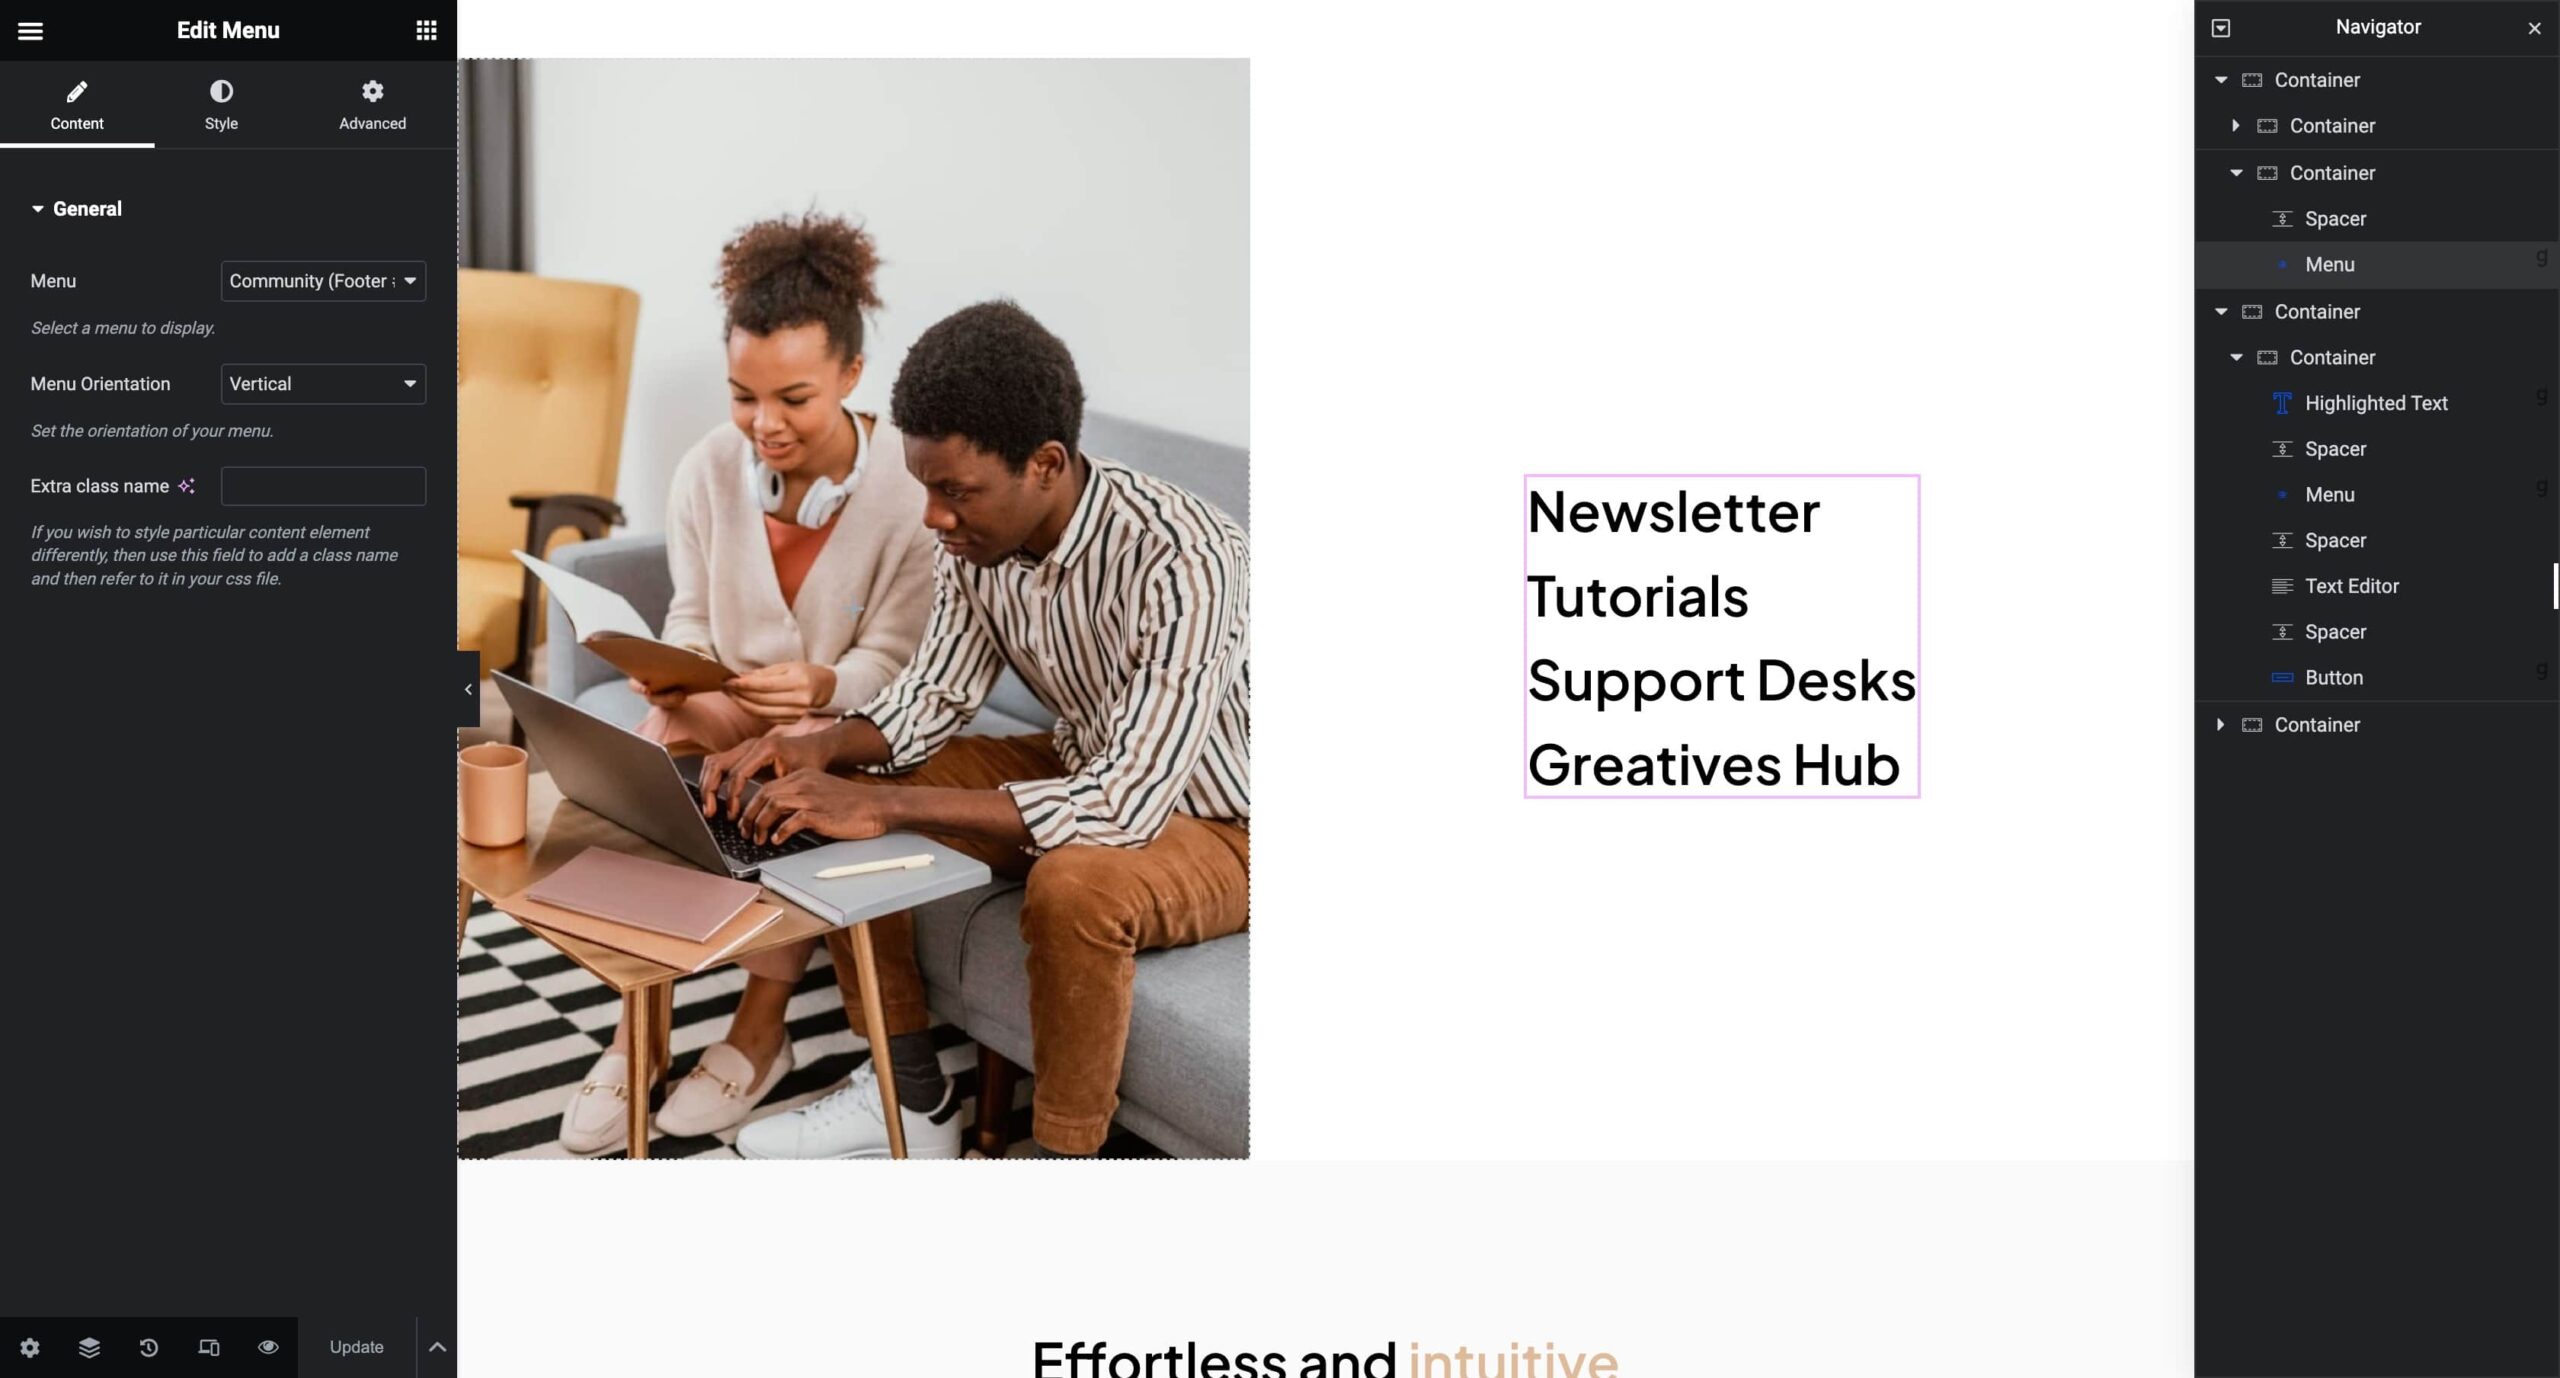
Locate and Add Custom Menu Element:
- Open your Elementor editor and navigate to the GW Elementor Addons elements.
- Add the Custom Menu element to your page, opening the door to extensive customization possibilities.
Configuring Menu Content:
- In the Content tab, select any WordPress menu of your choice.
- Define the menu orientation—choose between vertical and horizontal layouts.
Styling Your Custom Menus #
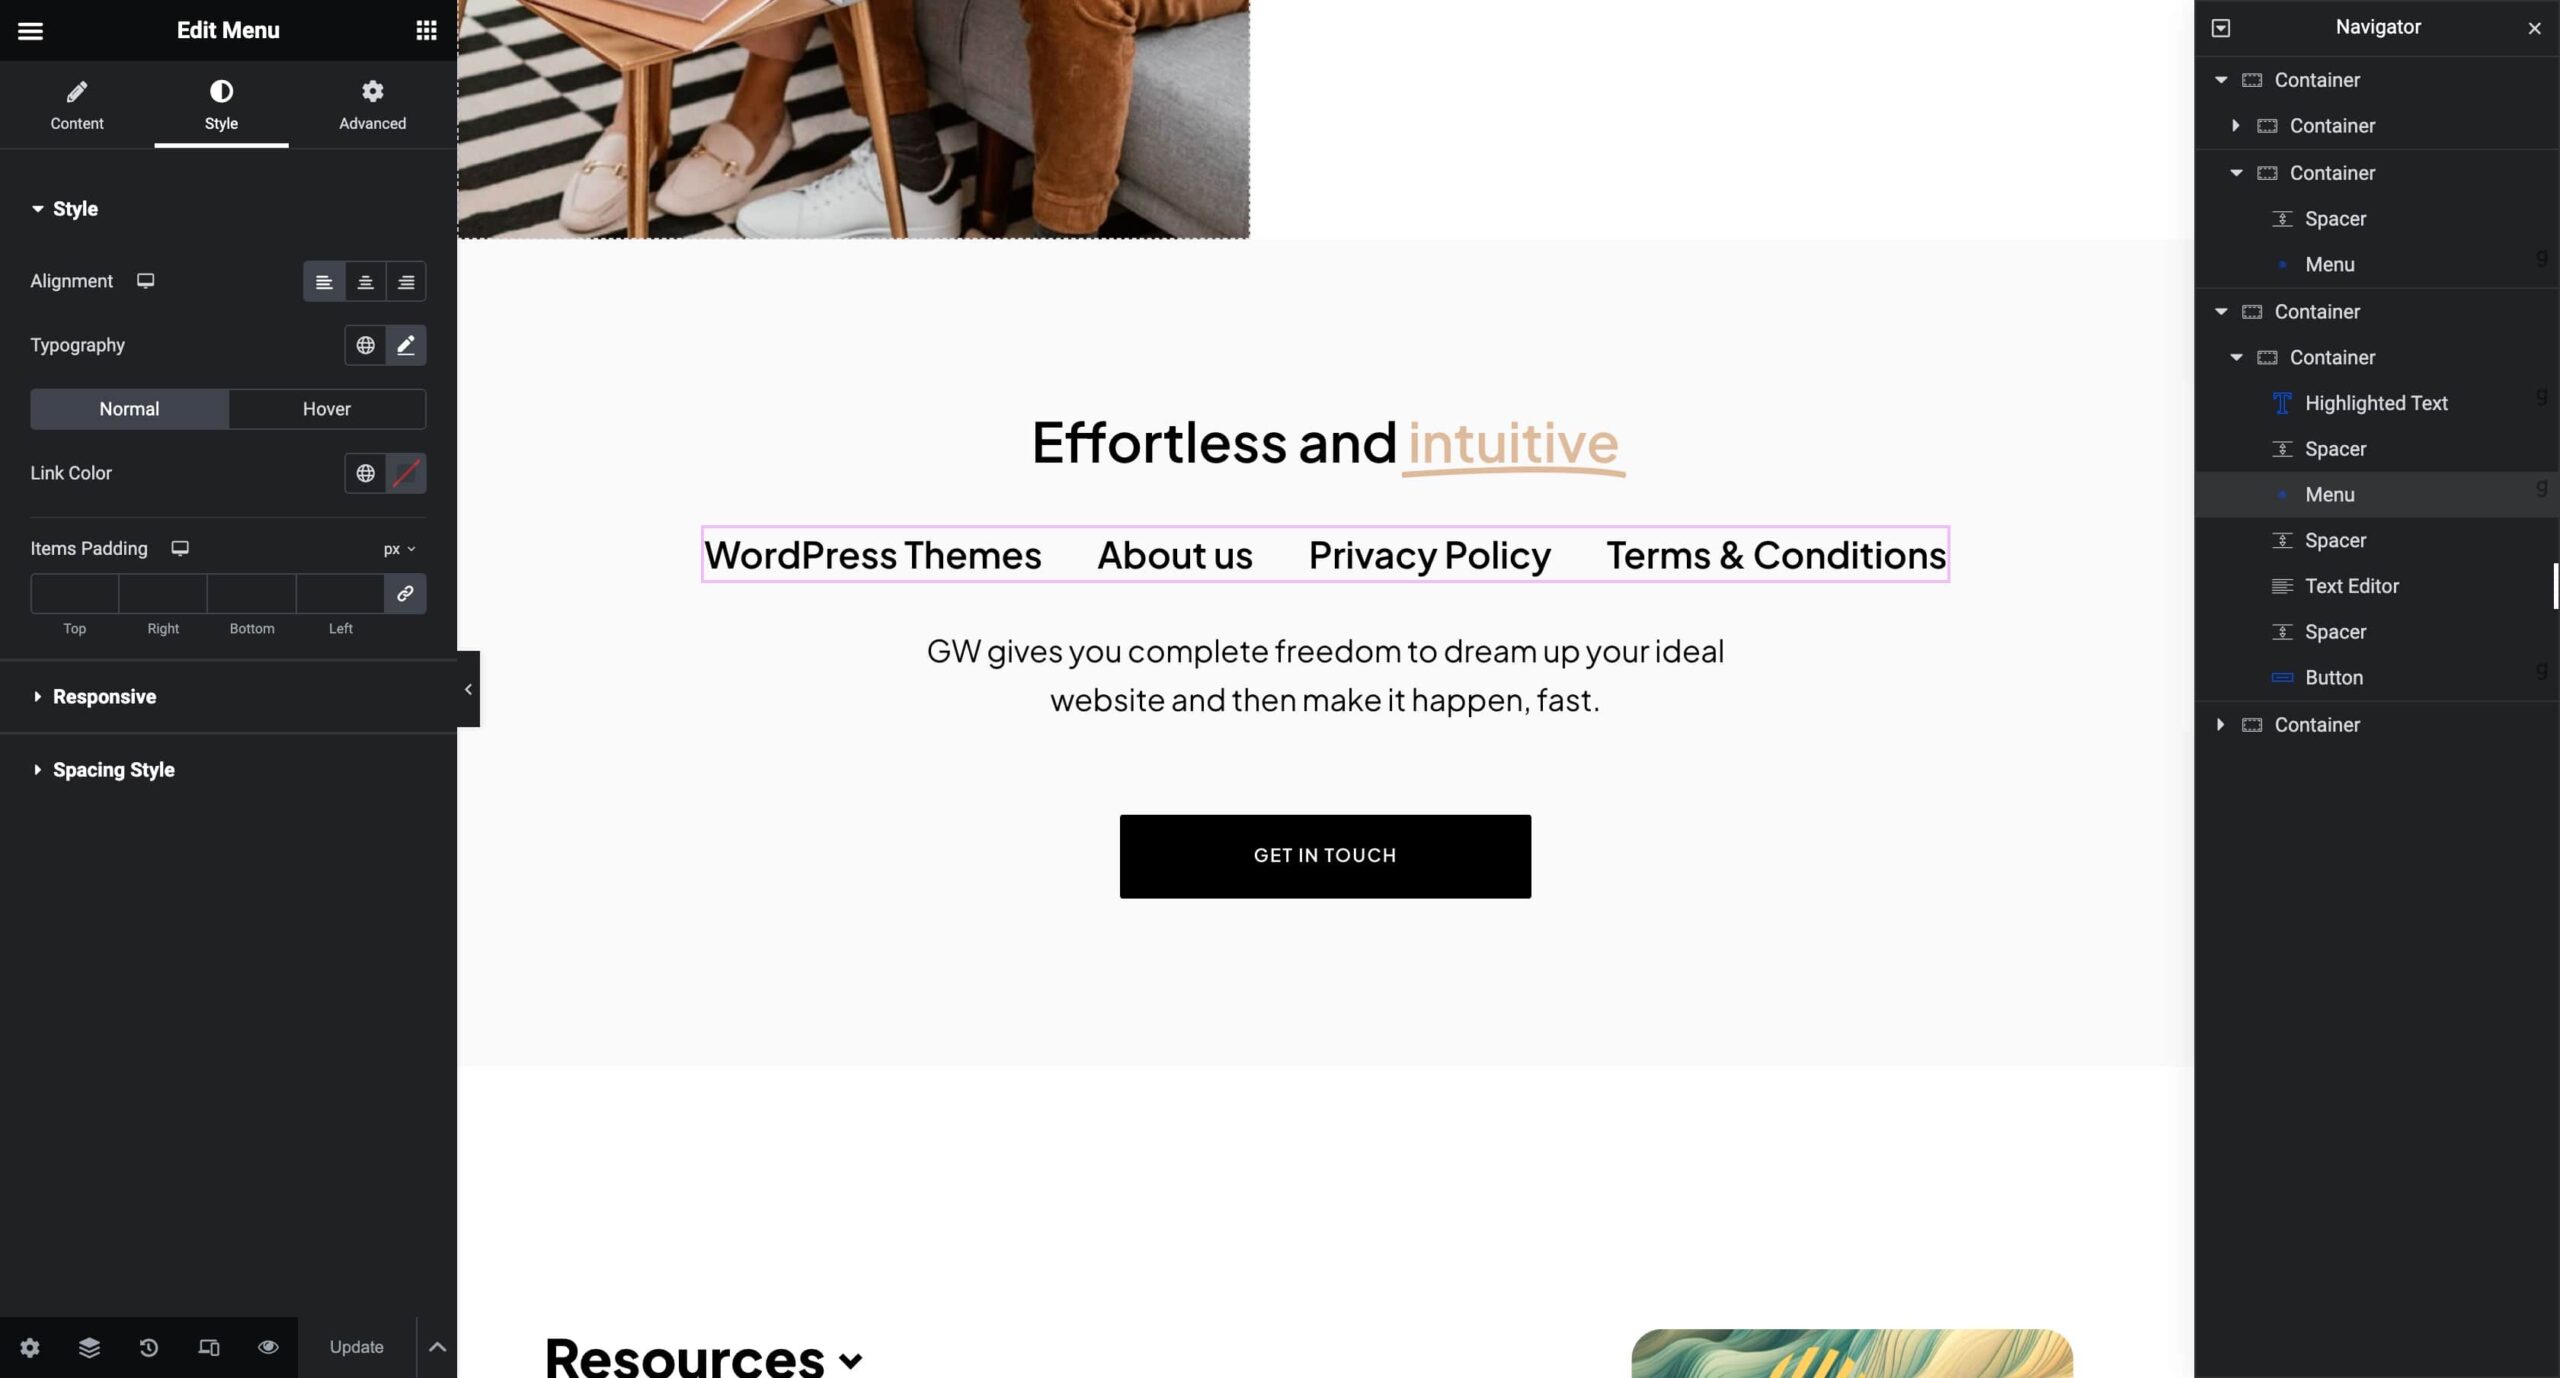
Customizing Style Settings:
- Move to the Style tab to access a range of customization options.
- Define alignment, typography, colors, and padding for menu and submenu items.
- Style the submenu arrow icon (for vertical menus) and set breakpoints for switching horizontal menus to vertical.
Going Beyond with Advanced Options: #
- Explore the Classic Advanced Options tab to access Elementor’s advanced features.
- Fine-tune positioning, responsiveness, and additional styling details for your Custom Menu Element.
Enjoy the flexibility of placing menus exactly where you want them, tailored to your site’s unique design.


